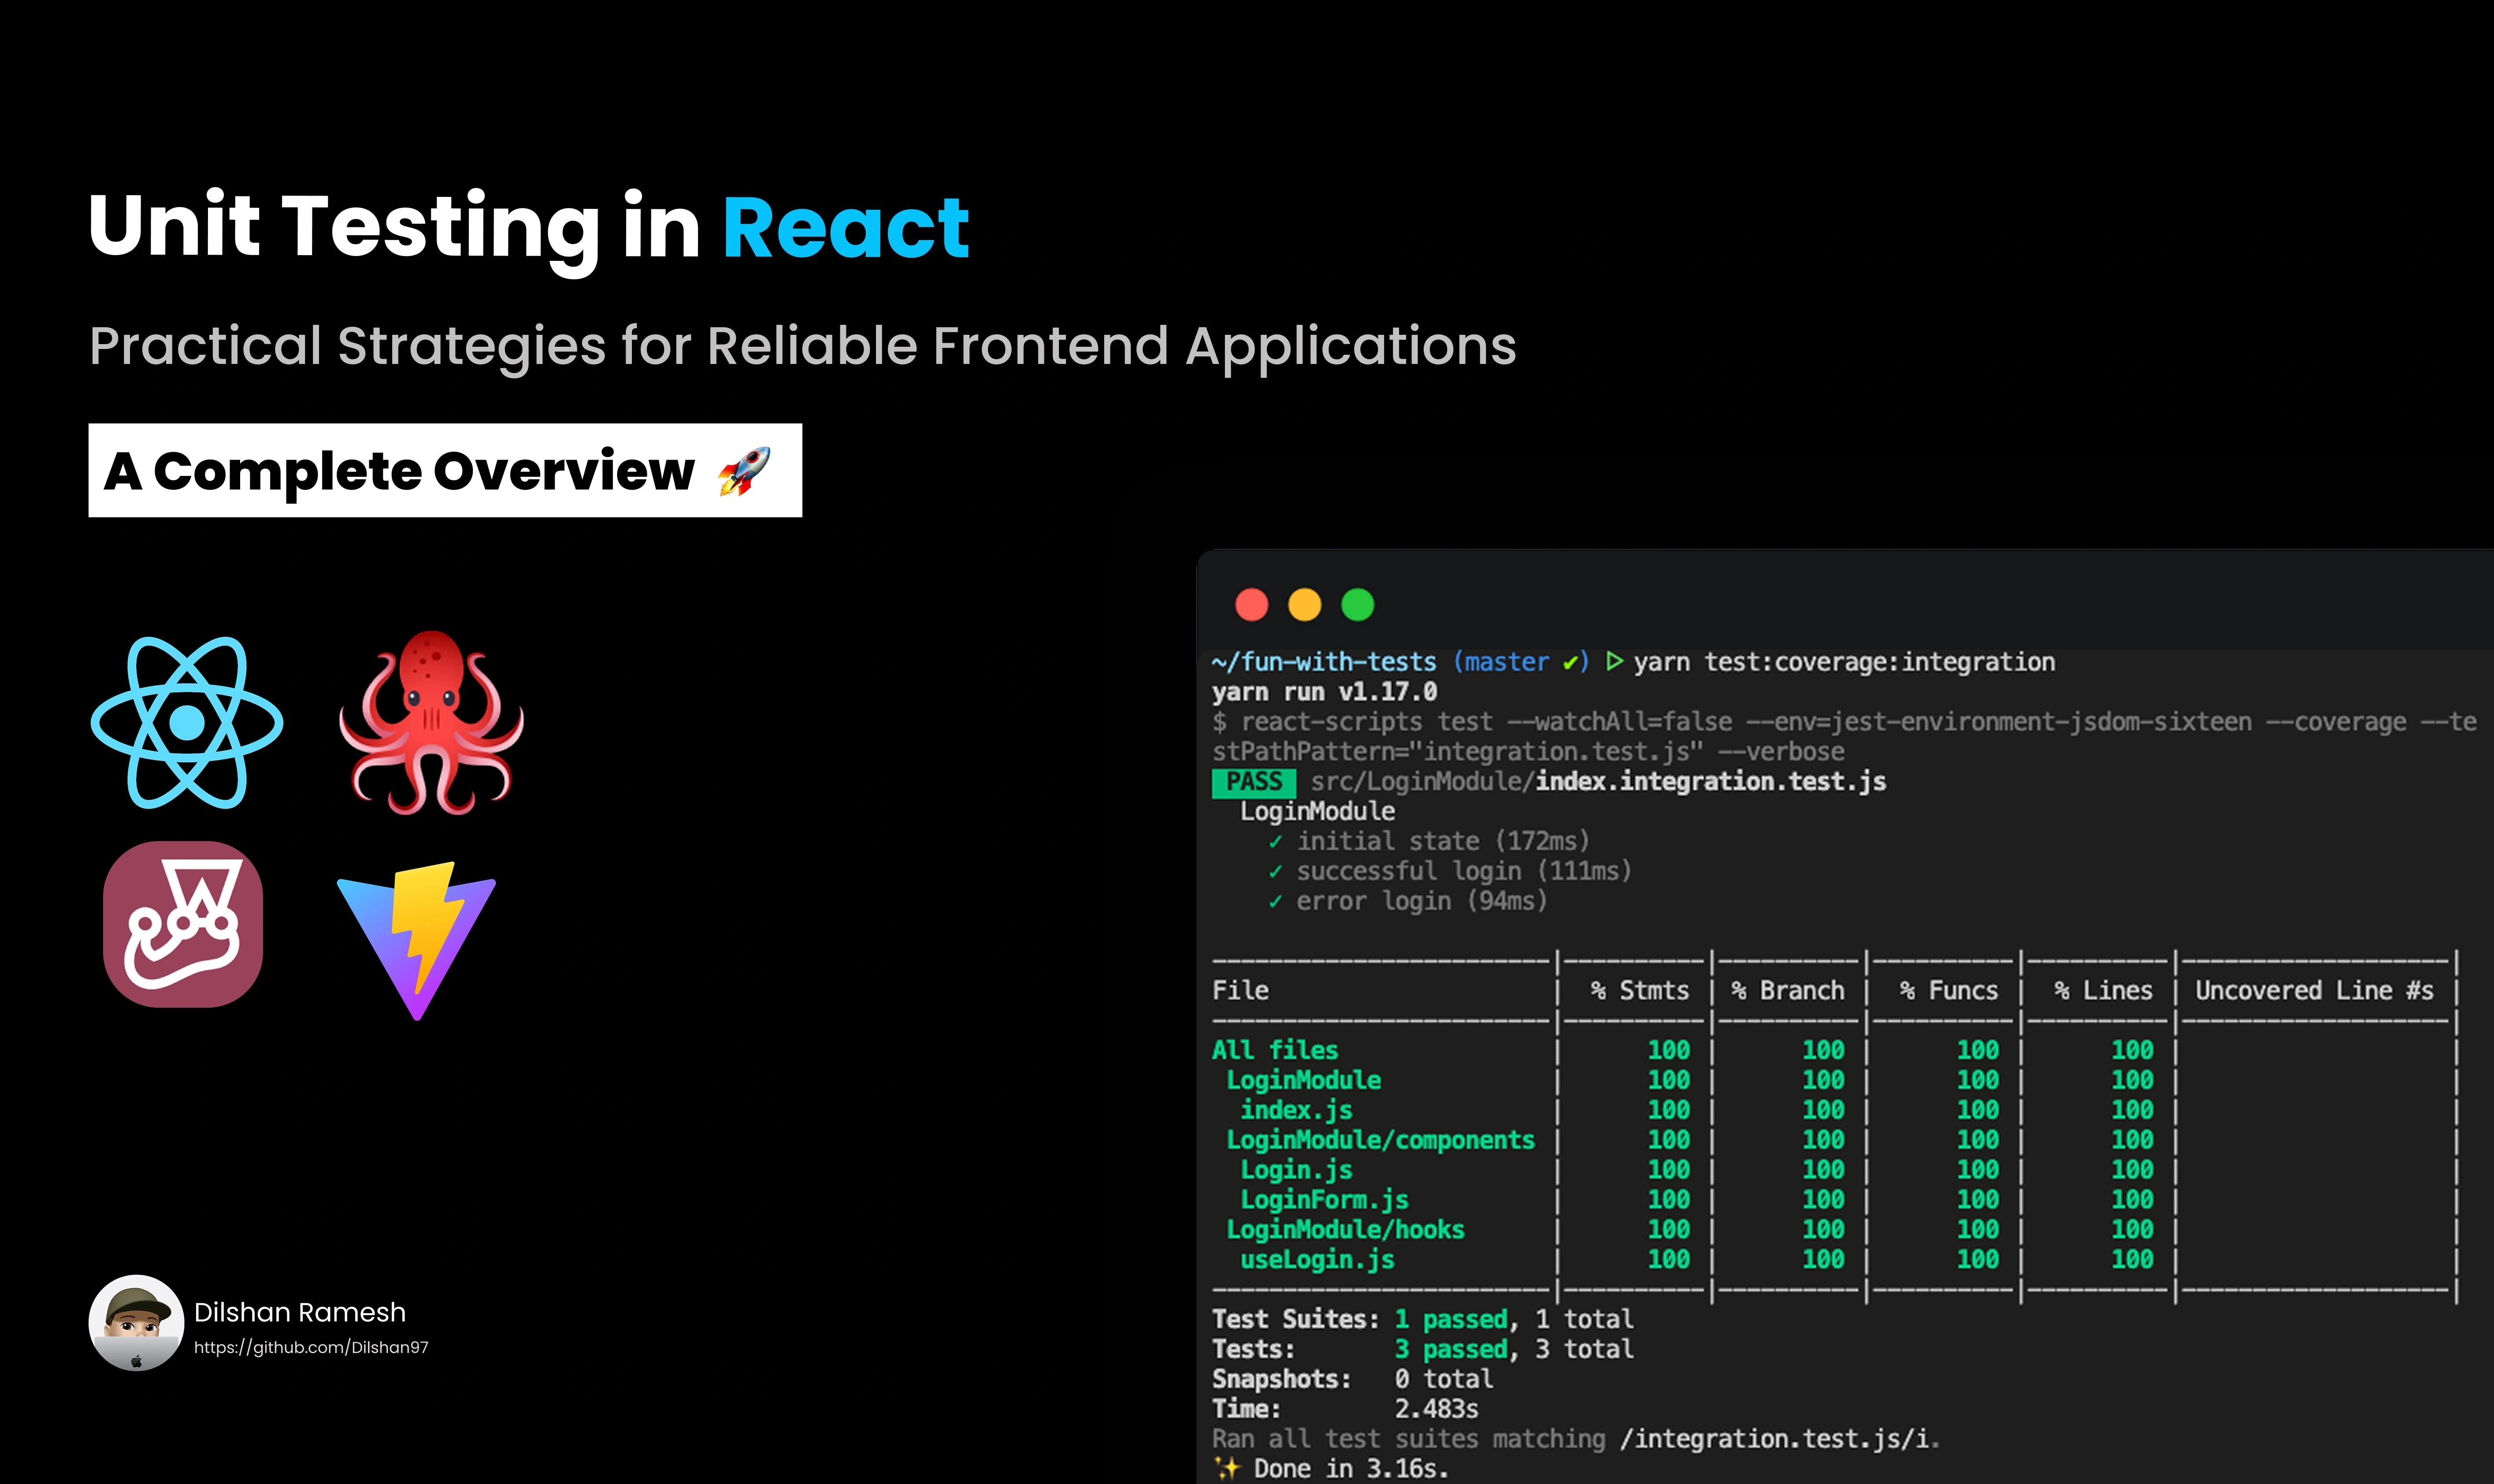
As React applications grow, maintaining confidence in the codebase becomes increasingly important.
A small change to a component can unexpectedly affect another part of the application. A refactor that looks harmless can break an existing user flow. A validation rule can work correctly for one input while failing for another.
This is where automated testing becomes valuable.
Unit testing gives frontend developers a way to verify that individual pieces of an application behave as expected. Instead of manually checking the same functionality every time we make a change, we can automate those checks and let our test suite provide immediate feedback.
In this article, we'll explore unit testing in React, how to write meaningful tests, how React Testing Library fits into the workflow, when mocking is useful, and how to avoid some common testing mistakes.
What Is Unit Testing?
A unit test verifies a small and isolated piece of code.
In a React application, that could be:
- A utility function
- A validation function
- A custom hook
- A React component
- A data transformation
- A piece of business logic
The basic idea is straightforward:
Given a specific input or situation, does the code produce the expected behavior?
Consider a simple utility function:
export function calculateTotal(
  price: number,
  quantity: number
) {
  return price * quantity;
}
We can test it without involving React, the browser, or an API:
import { calculateTotal } from "./calculateTotal";

describe("calculateTotal", () => {
  it("calculates the total price", () => {
    const result = calculateTotal(100, 3);

    expect(result).toBe(300);
  });
});
This test has a very narrow responsibility: making sure calculateTotal returns the correct value.
That's what makes it a unit test.
Why Should We Test React Applications?
Testing can initially feel like additional work.
You already have to build the feature. Why spend more time writing code to verify that feature?
The answer becomes clearer as the application grows.
Catch regressions early
Imagine you have a form that has been working correctly for months. Someone changes the validation logic while implementing another feature.
Without tests, that regression might only be discovered during manual testing or after deployment.
With automated tests, the problem can be detected immediately.
Refactor with confidence
Refactoring is a normal part of software development.
You might replace a library, restructure components, extract a custom hook, or change how data flows through the application.
A good test suite provides a safety net while making those changes.
Reduce repetitive manual testing
If you repeatedly need to:
- Open the application
- Navigate to a page
- Fill out a form
- Click a button
- Check the result
then that workflow is a good candidate for automation.
Document expected behavior
Tests can also act as executable documentation.
A test such as:
it("shows an error when the email address is invalid", () => {
  // ...
});
immediately communicates part of the expected behavior of the application.
The Arrange, Act, Assert Pattern
One of the simplest ways to structure a test is the Arrange, Act, Assert pattern.
Arrange
Prepare everything needed for the test.
Act
Execute the behavior you're testing.
Assert
Verify the result.
For example:
it("calculates the discounted price", () => {
  // Arrange
  const price = 1000;
  const discount = 10;

  // Act
  const result =
    price - (price * discount) / 100;

  // Assert
  expect(result).toBe(900);
});
This structure isn't a strict requirement, but it makes tests easier to understand.
When reading a test, you should generally be able to identify:
What was prepared?
What happened?
What should have happened?
Testing React Components
Testing a React component is slightly different from testing a utility function.
Consider a simple button:
type ButtonProps = {
  label: string;
  onClick: () => void;
};

export function Button({
  label,
  onClick,
}: ButtonProps) {
  return (
    <button onClick={onClick}>
      {label}
    </button>
  );
}
A useful test isn't necessarily concerned with the component's internal implementation.
Instead, we can test what happens when the user interacts with it.
import { render, screen } from "@testing-library/react";
import userEvent from "@testing-library/user-event";
import { Button } from "./Button";

describe("Button", () => {
  it("calls the click handler", async () => {
    const user = userEvent.setup();
    const handleClick = jest.fn();

    render(
      <Button
        label="Save"
        onClick={handleClick}
      />
    );

    await user.click(
      screen.getByRole("button", {
        name: "Save",
      })
    );

    expect(handleClick).toHaveBeenCalledTimes(1);
  });
});
The important part here is that we're testing observable behavior.
We're asking:
What happens when a user clicks the Save button?
rather than:
Does the component internally call this specific function?
That distinction becomes increasingly important as applications become more complex.
React Testing Library
React Testing Library is designed around a simple philosophy: tests should interact with the application in ways that resemble how users interact with it.
For example, instead of inspecting React component state directly, we can look for something the user would actually see.
Suppose a dialog should appear after clicking a button.
A behavior-focused test might look like this:
expect(
  screen.getByRole("dialog")
).toBeVisible();
This is generally more resilient than testing implementation details such as internal state.
If you later change the way the dialog is implemented but the user-facing behavior remains the same, the test may continue to work.
Choosing the Right Query
React Testing Library provides several ways to locate elements.
Some commonly used queries are:
screen.getByRole(...)
screen.getByLabelText(...)
screen.getByText(...)
screen.getByPlaceholderText(...)
screen.getByTestId(...)
When possible, prefer semantic queries.
For example:
screen.getByRole("button", {
  name: "Submit",
});
is generally more meaningful than:
screen.getByTestId("submit-button");Why?
Because the first query represents how a user or assistive technology can identify the element.
A useful general preference is:
Role
  ↓
Label
  ↓
Text
  ↓
Placeholder
  ↓
Test ID
This doesn't mean data-testid is bad. It can be useful when an element doesn't have a suitable accessible query.
The important thing is to avoid making test IDs your default approach.
Simulating User Interactions
When testing interactions, you'll often encounter userEvent.
For example:
const user = userEvent.setup();

await user.click(button);
Typing can be simulated in a similar way:
await user.type(
  screen.getByRole("textbox"),
  "dilshan@example.com"
);
This approach provides a more realistic representation of user interaction than simply triggering low-level DOM events.
For example, a form test might look like:
it("allows the user to enter an email address", async () => {
  const user = userEvent.setup();

  render(<LoginForm />);

  const emailInput =
    screen.getByLabelText("Email");

  await user.type(
    emailInput,
    "dilshan@example.com"
  );

  expect(emailInput).toHaveValue(
    "dilshan@example.com"
  );
});
The test reads almost like the user story itself.
Mocking External Dependencies
Unit tests should generally focus on the code being tested rather than relying on external systems.
Consider a component that loads users from an API:
const response = await fetch("/api/users");
const users = await response.json();
If every unit test calls the real API, several problems can appear.
The API might be:
- Slow
- Unavailable
- Dependent on authentication
- Unpredictable
- Returning different data between test runs
Instead, we can control the dependency.
For example:
const mockUsers = [
  {
    id: 1,
    name: "John",
  },
  {
    id: 2,
    name: "Sarah",
  },
];
The test can then verify how the component behaves when those users are returned.
The purpose of mocking isn't to pretend the dependency doesn't exist.
It's to control the dependency so we can test our own code reliably.
Mocking vs Stubbing
You'll often hear the terms mock and stub when discussing automated tests.
They are related but serve slightly different purposes.
A stub generally provides controlled data or behavior.
For example:
const getUser = jest
  .fn()
  .mockResolvedValue({
    id: 1,
    name: "John",
  });
The goal here is to control what getUser() returns.
A mock can also be used to verify interactions.
For example:
expect(sendNotification)
  .toHaveBeenCalledWith(
    "john@example.com"
  );
Here we're interested in whether the dependency was called correctly.
A simple way to think about it is:
Stubs help control behavior. Mocks can help verify interactions.
What Should You Test?
One of the biggest mistakes developers can make is trying to test everything.
A good test suite isn't necessarily the one with the largest number of tests.
Instead, focus on meaningful behavior.
Imagine you're testing a login form.
Useful scenarios could include:
- The form renders correctly.
- Required validation appears.
- Invalid email addresses are rejected.
- Valid credentials trigger the login action.
- A loading state is displayed.
- Authentication errors are shown.
- The user is redirected after successful authentication.
These tests protect behavior that actually matters to the application.
You don't necessarily need a test for every internal function call.
Test the Happy Path — But Don't Stop There
The happy path is the scenario where everything works correctly.
For example:
User enters valid credentials
        ↓
Login request succeeds
        ↓
User reaches dashboard
It's important to test this flow.
But real applications also have failure scenarios.
For example:
Empty input
Invalid input
No results
Network failure
Unauthorized request
Unexpected response
Loading state
These cases deserve attention too.
A useful approach is to think about three categories:
Happy path
Everything works as expected.
Edge cases
The input is unusual but still valid.
Failure scenarios
Something goes wrong and the application needs to respond appropriately.
This mindset can uncover bugs that a collection of happy-path tests would miss.
Keep Tests Independent
Each test should ideally be able to run on its own.
Avoid situations where:
Test A → changes shared state
Test B → depends on Test A
If Test A fails, Test B shouldn't suddenly fail simply because it depended on state created by another test.
Use setup and cleanup mechanisms when shared configuration is necessary.
For example:
beforeEach(() => {
  // Reset state
});
Independent tests are easier to understand, debug, and maintain.
They can also be executed in different orders without changing the result.
Write Descriptive Test Names
A test name should explain the behavior being verified.
Compare:
it("works", () => {
  // ...
});
with:
it(
  "shows an error when the email address is invalid",
  () => {
    // ...
  }
);
The second version immediately tells us what the application is expected to do.
Good test names become especially valuable when a test fails in CI.
Instead of seeing:
Button test failedyou might see:
Button shows a loading state while savingThat gives the developer immediate context.
Don't Test Implementation Details
This is one of the most important principles when testing React applications.
Imagine a component currently uses a piece of state:
const [isOpen, setIsOpen] = useState(false);You could write a test around that internal state.
But later, you might change the implementation to use a different approach.
If the user-facing behavior hasn't changed, the test shouldn't necessarily need to change either.
Instead, test what the user observes:
expect(
  screen.getByRole("dialog")
).toBeVisible();
This creates tests that are more resistant to refactoring.
A useful rule is:
Test behavior, not implementation.
Test Coverage Isn't Everything
Code coverage is useful.
It can tell you which parts of your code are being exercised by your tests.
But a high coverage percentage doesn't automatically mean you have a good test suite.
For example, a test could execute a function without actually checking whether the function produces the correct result.
You might have:
100% code coveragewhile still having important bugs.
Instead of making coverage the primary goal, ask:
Have I tested the behavior that matters?
Coverage should be treated as a useful signal rather than the definition of test quality.
Unit Tests Are Only One Layer
Unit tests are important, but they are only one part of a broader testing strategy.
A frontend application can have several levels of testing.
End-to-End Tests
       ↑
Integration Tests
       ↑
Unit Tests
Each level answers a different question.
Unit test
Does this individual piece of logic work?
calculateTotal(100, 3)
→ 300
Integration test
Do multiple pieces of the application work together?
Login form
    ↓
Authentication service
    ↓
Application state
End-to-end test
Does the complete user journey work?
Open application
      ↓
Enter credentials
      ↓
Submit login form
      ↓
Authentication succeeds
      ↓
Dashboard appears
You don't necessarily need to use the same type of test for everything.
The appropriate level depends on what you're trying to verify.
A Practical Testing Workflow
When implementing a new feature, I find it useful to think about testing as part of development rather than something that happens afterward.
Start by identifying the behavior.
Ask:
What should the user be able to do?
Then identify the important scenarios.
Think about:
- Success
- Validation
- Loading
- Empty states
- Errors
- Edge cases
From there, write focused tests around those behaviors.
A typical workflow might look like:
Implement feature
      ↓
Identify important behaviors
      ↓
Write focused tests
      ↓
Run tests locally
      ↓
Refactor if necessary
      ↓
Run tests in CI
This makes testing part of the development process rather than a final checkbox.
A Simple Example
Let's put some of these ideas together.
Suppose we have a simple login form:
function LoginForm() {
  const [email, setEmail] = useState("");

  return (
    <form>
      <label htmlFor="email">
        Email
      </label>

      <input
        id="email"
        value={email}
        onChange={(event) =>
          setEmail(event.target.value)
        }
      />

      <button type="submit">
        Login
      </button>
    </form>
  );
}
A test could focus on what the user can actually do:
it("allows the user to enter an email address", async () => {
  const user = userEvent.setup();

  render(<LoginForm />);

  const input =
    screen.getByLabelText("Email");

  await user.type(
    input,
    "dilshan@example.com"
  );

  expect(input).toHaveValue(
    "dilshan@example.com"
  );
});
Notice how little the test knows about the implementation.
It doesn't care whether the component uses useState, a custom hook, a form library, or another state-management solution.
It only cares that the user can enter an email address.
That's exactly the kind of behavior we want our tests to protect.
Final Thoughts
Unit testing isn't about writing the maximum number of tests or achieving an impressive coverage percentage.
It's about creating confidence in the codebase.
Good tests help us understand expected behavior, catch regressions, refactor safely, and reduce repetitive manual testing.
For React applications, a practical approach is to:
- Focus on meaningful behavior.
- Prefer user-facing interactions.
- Avoid unnecessary implementation-detail testing.
- Keep tests independent.
- Test both successful and failure scenarios.
- Mock external dependencies when appropriate.
- Use semantic queries whenever possible.
- Treat coverage as a measurement rather than the final goal.
The most valuable tests aren't necessarily the ones that test the most code.
They're the ones that protect the behavior that matters.
As a React application grows, that safety net becomes increasingly valuable. A well-designed test suite doesn't just tell you that the code works today—it gives you more confidence that it will continue working tomorrow.